This is some text inside of a div block.
I'm Looking to Upgrade My Home's Heating — How Is a Ductless Mini Split Installed Step by Step?
If you've been wondering how is a ductless mini split installed step by step, here's the short answer: a trained technician mounts the indoor air handler, drills a small wall hole, routes the refrigerant lines and wiring through to the outdoor unit, pressure tests the system, pulls a deep vacuum, then releases the refrigerant and starts everything up. For most single-zone systems, that whole process takes between 4 and 8 hours.
Here's the quick overview:
- Mount the indoor unit bracket level on wall studs
- Drill a 2–3 inch hole through the exterior wall at a slight downward angle
- Route and connect the refrigerant line set, drain line, and communication wiring
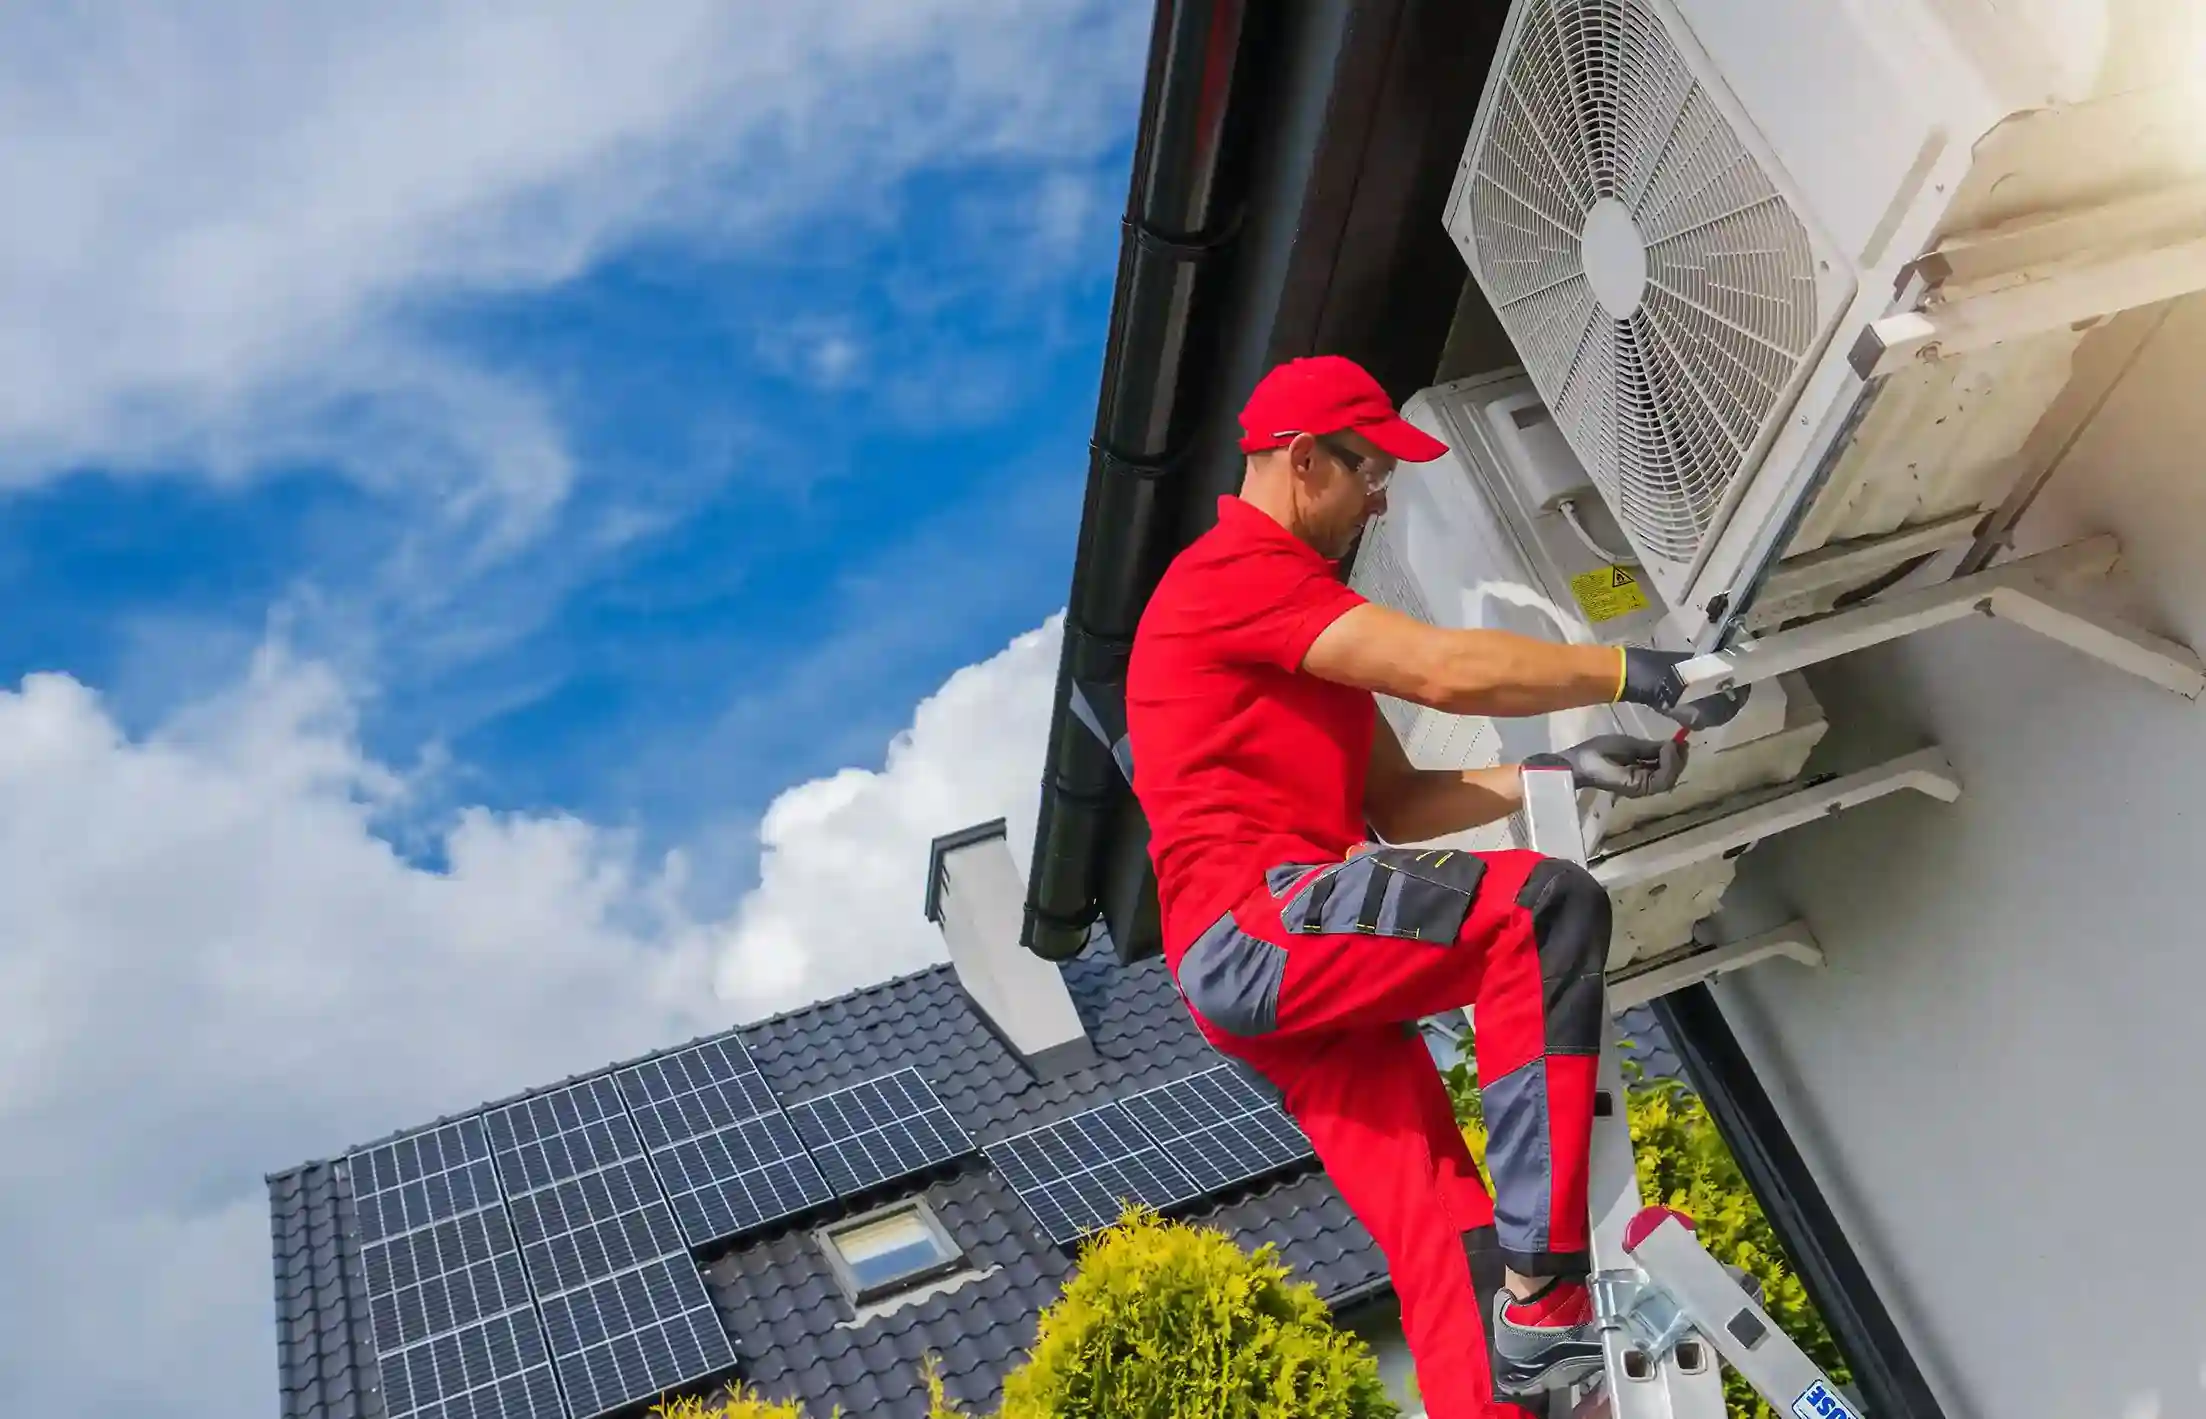
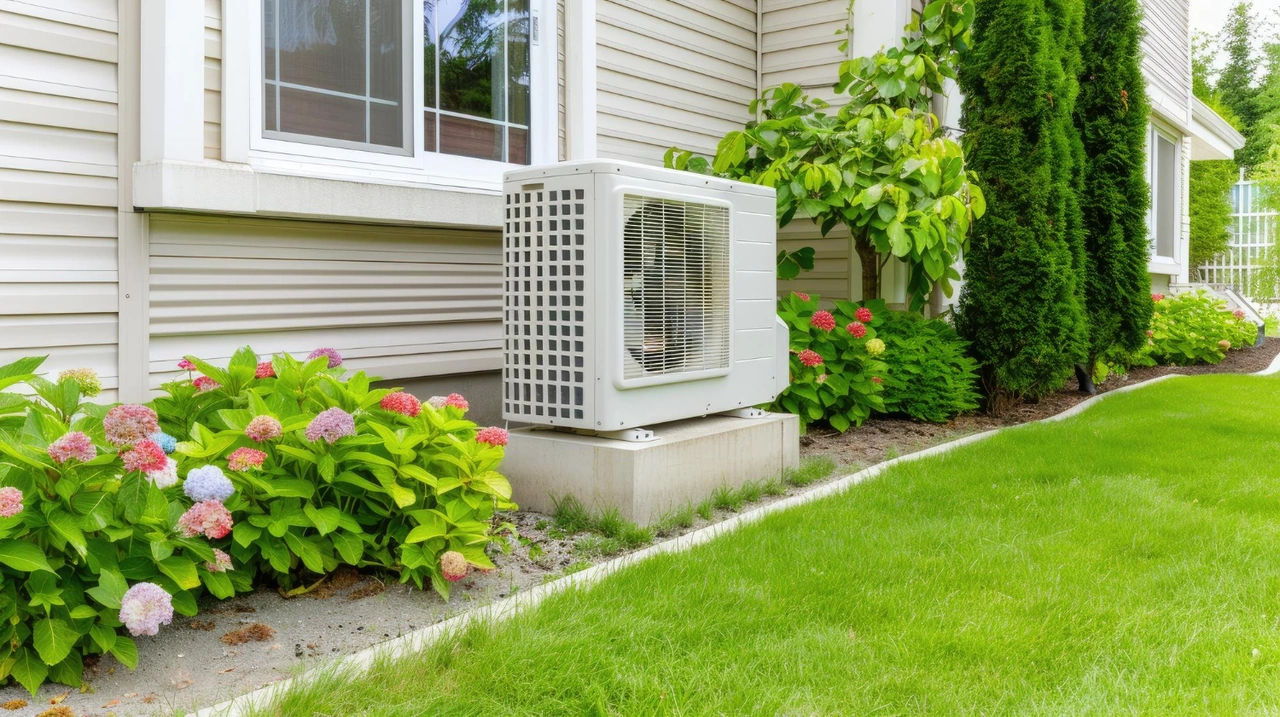
- Set and connect the outdoor condenser unit
- Pressure test with nitrogen and pull a vacuum to 500 microns or lower
- Release refrigerant, power on the system, and verify operation
For homeowners in Moscow, ID — where summers can surprise you with heat and winters demand reliable warmth — a ductless mini split offers zoned, energy-efficient comfort without the energy losses that come with leaky ductwork (which can waste up to 30% of your heating and cooling energy). That makes proper installation critically important. Cut corners on any step above, and you risk refrigerant leaks, water damage, or a voided manufacturer warranty.
Before you dive into the full guide, check out Read This Before You Buy a Ductless AC — it covers key decisions you'll want to make before the first bracket goes on the wall.

Essential Tools for How Is a Ductless Mini Split Installed Step by Step
To get the job done right, you need more than just a standard toolbox. Professional-grade equipment is the difference between a system that lasts 15 years and one that fails in six months. If you are tracking how is a ductless mini split installed step by step, you'll notice that specialized tools appear at every stage.
Here is the essential gear we use:
- Vacuum Pump and Micron Gauge: Crucial for removing moisture and air from the lines.
- Manifold Gauges: Used to monitor pressures during testing and startup.
- Eccentric Flaring Tool: Creates the high-quality, leak-proof flares needed for copper connections.
- Torque Wrench: Ensures every nut is tightened to exact manufacturer specifications (e.g., 11.8 ft/lbs for 1/4” tubing).
- Hole Saw (2.5 to 3 inches): For creating the passage through your home’s exterior.
- Level: To ensure the indoor unit drains properly and the outdoor unit sits flat.
- Nitrogen Tank and Regulator: For high-pressure leak testing.
Selecting the right spot for these tools to go to work is just as important as the tools themselves. For more on placement, see our guide on the Best Locations for Ductless AC Installation Lewiston Homes.
Proper Sizing and Site Preparation
You wouldn't buy a pair of shoes without knowing your size, and you shouldn't buy a mini split without a "Manual J" load calculation. This calculation considers your room's square footage, ceiling height, window placement, and insulation quality. A rule of thumb is roughly 20 BTUs per square foot, but in our May 2026 climate, precision is key to avoid "short-cycling," which wears out the compressor.
Site prep involves ensuring the indoor unit has at least 6 inches of clearance from the ceiling and 6 feet of clearance from the floor. We also look for exterior walls that allow for the shortest possible line set run to maximize efficiency. For a deeper dive into these pre-install checks, read our Guide to Ductless AC Installation.
Step 1 & 2: Mounting the Indoor Unit and Drilling the Wall Hole
The first physical step in how is a ductless mini split installed step by step is securing the mounting bracket. We use a stud finder to locate the structural supports of your wall. It is vital that this bracket is perfectly level; if it tilts even slightly away from the drain side, water will back up and drip down your interior wall.
Once the bracket is set, we move to the most "nerve-wracking" part for many homeowners: drilling the hole. We typically use a 3-inch hole saw.
- The Angle: We drill at a slight downward slope toward the outside. This allows gravity to naturally pull the condensate water away from your home.
- The Siding: To prevent cracking exterior siding (especially in colder areas like Potlatch or Troy, ID), we often run the drill in reverse at high RPMs until we've cleared the outer layer.
This hole will eventually house the refrigerant lines, the communication cable, and the drain hose. For residents in the LC Valley, our Ductless AC Installation Lewiston ID services ensure these penetrations are perfectly sealed against the elements.
Step 3 & 4: Connecting Refrigerant Lines and Electrical Wiring
Now we connect the "circulatory system" of the unit. The line set consists of two copper pipes that carry refrigerant between the indoor and outdoor units.
Flaring and TorquingThis is where most DIY installations fail. We use an eccentric flaring tool to create a smooth, wide "flare" at the end of the copper pipe. After applying a bit of refrigeration oil to the flare face, we connect it to the unit using a torque wrench. Using two wrenches is a must—one to hold the valve steady and one to tighten the nut—to prevent kinking the delicate copper.
Electrical and CommunicationThe indoor unit is powered by a communication cable (usually 14 AWG, 4-conductor) that runs through the wall hole to the outdoor unit. This cable carries both high-voltage power and data signals that tell the units when to turn on or change speeds. Because this wiring is complex, many homeowners choose our Mini Split AC Installation Lewiston ID experts to handle the heavy lifting.
Ensuring Safety During How Is a Ductless Mini Split Installed Step by Step
Safety isn't just a buzzword; it's a requirement. Most mini splits require a dedicated 240V circuit and a local disconnect box near the outdoor unit. This allows a technician to safely cut power during future maintenance.
- Grounding: Proper grounding prevents electrical surges from frying the sensitive inverter boards.
- Voltage Verification: We always use a multimeter to verify we have the correct voltage before the final startup.
If your current electrical panel is already full, it might be a sign that your home's infrastructure needs an update. Check out Is It Time to Replace Your Ductless AC for more on system lifespans and requirements.
Step 5 & 6: Vacuuming the System and Final Startup
Once everything is connected, we don't just "turn it on." We have to ensure the system is airtight and bone-dry.
The Nitrogen Pressure TestWe fill the lines with dry nitrogen—usually up to 300 or 500 PSI—and let it stand. If the pressure drops even a fraction, we know there is a leak that needs fixing before any refrigerant is wasted.
The Vacuum and Decay TestAfter confirming it's leak-free, we use a vacuum pump to pull the system down to 500 microns or lower. This removes non-condensables (air) and moisture. Moisture is the enemy of an HVAC system; if left inside, it can turn into acid that eats the compressor from the inside out. We perform a "decay test" by turning off the pump and ensuring the vacuum holds for at least 10 to 15 minutes.
| Step | Purpose | Target Metric |
|---|---|---|
| Nitrogen Test | Check for physical leaks | 300-500 PSI |
| Vacuum Pump | Remove air and moisture | < 500 Microns |
| Decay Test | Ensure vacuum integrity | Steady micron level |
Release and StartupFinally, we use an Allen wrench to open the valves on the outdoor unit, releasing the pre-charged refrigerant into the lines. We power the system on and check the "Delta T"—the temperature difference between the air going into the unit and the air coming out. A healthy system usually shows a 15–20°F difference. We finish by installing line set covers (slim ducting) to protect the exterior lines and give the job a clean, professional look.
Frequently Asked Questions about Ductless AC Setup
Can I install a mini split myself or should I hire a professional?
While "DIY-friendly" kits exist with pre-charged lines, standard mini split installation is highly technical. Handling refrigerants legally requires EPA 608 certification in many cases. Beyond the law, DIYers often lack the $1,500+ worth of specialized tools (vacuum pumps, micron gauges, torque wrenches) needed for a reliable install. Most importantly, many manufacturers will void your 10 or 12-year warranty if the system isn't commissioned by a licensed pro. For a guaranteed result, it’s best to stick with Mini Split AC Installation Lewiston ID.
How long does the installation process usually take?
For a straightforward, single-zone installation, expect a timeline of 4 to 8 hours. If we are installing a multi-zone system (one outdoor unit connected to three or four indoor units), it can take 1 to 2 days. Factors that add time include complex line set routing through attics or crawlspaces and the need for a new electrical circuit.
What maintenance is required after the system is installed?
To keep your system running through 2026 and beyond, you should:
- Clean Filters: Every 4–6 weeks. Ductless units move a lot of air, and their small filters can clog quickly.
- Clear Debris: Ensure the outdoor unit isn't buried in snow (common in Deary or Potlatch, ID) or clogged with leaves.
- Annual Tune-ups: A professional should check refrigerant levels and clean the coils once a year.
Wondering if your old unit is worth the effort? See Is It Time to Replace Your Ductless AC for a checklist.
Conclusion: Finding Expert Mini Split Installation in Moscow and Lewiston
Understanding how is a ductless mini split installed step by step helps you appreciate the precision required for these high-efficiency systems. From the initial Manual J sizing to the final vacuum decay test, every step is a building block for your home's comfort.
At Unlimited Heating & Refrigeration Inc, we bring over 20 years of family-owned experience to every job across the Palouse and LC Valley. As a premier Daikin dealer, we don't just install equipment; we offer a 12-year warranty and our signature Comfort Promise. Whether you are in Pullman, WA, or Genesee, ID, we are ready to help you upgrade.
Ready to experience zoned comfort? Explore our Mini Split services today and let us handle the steps for you.
I'm Looking to Upgrade My Home's Heating — How Is a Ductless Mini Split Installed Step by Step?
If you've been wondering how is a ductless mini split installed step by step, here's the short answer: a trained technician mounts the indoor air handler, drills a small wall hole, routes the refrigerant lines and wiring through to the outdoor unit, pressure tests the system, pulls a deep vacuum, then releases the refrigerant and starts everything up. For most single-zone systems, that whole process takes between 4 and 8 hours.
Here's the quick overview:
- Mount the indoor unit bracket level on wall studs
- Drill a 2–3 inch hole through the exterior wall at a slight downward angle
- Route and connect the refrigerant line set, drain line, and communication wiring
- Set and connect the outdoor condenser unit
- Pressure test with nitrogen and pull a vacuum to 500 microns or lower
- Release refrigerant, power on the system, and verify operation
For homeowners in Moscow, ID — where summers can surprise you with heat and winters demand reliable warmth — a ductless mini split offers zoned, energy-efficient comfort without the energy losses that come with leaky ductwork (which can waste up to 30% of your heating and cooling energy). That makes proper installation critically important. Cut corners on any step above, and you risk refrigerant leaks, water damage, or a voided manufacturer warranty.
Before you dive into the full guide, check out Read This Before You Buy a Ductless AC — it covers key decisions you'll want to make before the first bracket goes on the wall.
Essential Tools for How Is a Ductless Mini Split Installed Step by Step
To get the job done right, you need more than just a standard toolbox. Professional-grade equipment is the difference between a system that lasts 15 years and one that fails in six months. If you are tracking how is a ductless mini split installed step by step, you'll notice that specialized tools appear at every stage.
Here is the essential gear we use:
- Vacuum Pump and Micron Gauge: Crucial for removing moisture and air from the lines.
- Manifold Gauges: Used to monitor pressures during testing and startup.
- Eccentric Flaring Tool: Creates the high-quality, leak-proof flares needed for copper connections.
- Torque Wrench: Ensures every nut is tightened to exact manufacturer specifications (e.g., 11.8 ft/lbs for 1/4” tubing).
- Hole Saw (2.5 to 3 inches): For creating the passage through your home’s exterior.
- Level: To ensure the indoor unit drains properly and the outdoor unit sits flat.
- Nitrogen Tank and Regulator: For high-pressure leak testing.
Selecting the right spot for these tools to go to work is just as important as the tools themselves. For more on placement, see our guide on the Best Locations for Ductless AC Installation Lewiston Homes.
Proper Sizing and Site Preparation
You wouldn't buy a pair of shoes without knowing your size, and you shouldn't buy a mini split without a "Manual J" load calculation. This calculation considers your room's square footage, ceiling height, window placement, and insulation quality. A rule of thumb is roughly 20 BTUs per square foot, but in our May 2026 climate, precision is key to avoid "short-cycling," which wears out the compressor.
Site prep involves ensuring the indoor unit has at least 6 inches of clearance from the ceiling and 6 feet of clearance from the floor. We also look for exterior walls that allow for the shortest possible line set run to maximize efficiency. For a deeper dive into these pre-install checks, read our Guide to Ductless AC Installation.
Step 1 & 2: Mounting the Indoor Unit and Drilling the Wall Hole
The first physical step in how is a ductless mini split installed step by step is securing the mounting bracket. We use a stud finder to locate the structural supports of your wall. It is vital that this bracket is perfectly level; if it tilts even slightly away from the drain side, water will back up and drip down your interior wall.
Once the bracket is set, we move to the most "nerve-wracking" part for many homeowners: drilling the hole. We typically use a 3-inch hole saw.
- The Angle: We drill at a slight downward slope toward the outside. This allows gravity to naturally pull the condensate water away from your home.
- The Siding: To prevent cracking exterior siding (especially in colder areas like Potlatch or Troy, ID), we often run the drill in reverse at high RPMs until we've cleared the outer layer.
This hole will eventually house the refrigerant lines, the communication cable, and the drain hose. For residents in the LC Valley, our Ductless AC Installation Lewiston ID services ensure these penetrations are perfectly sealed against the elements.
Step 3 & 4: Connecting Refrigerant Lines and Electrical Wiring
Now we connect the "circulatory system" of the unit. The line set consists of two copper pipes that carry refrigerant between the indoor and outdoor units.
Flaring and TorquingThis is where most DIY installations fail. We use an eccentric flaring tool to create a smooth, wide "flare" at the end of the copper pipe. After applying a bit of refrigeration oil to the flare face, we connect it to the unit using a torque wrench. Using two wrenches is a must—one to hold the valve steady and one to tighten the nut—to prevent kinking the delicate copper.
Electrical and CommunicationThe indoor unit is powered by a communication cable (usually 14 AWG, 4-conductor) that runs through the wall hole to the outdoor unit. This cable carries both high-voltage power and data signals that tell the units when to turn on or change speeds. Because this wiring is complex, many homeowners choose our Mini Split AC Installation Lewiston ID experts to handle the heavy lifting.
Ensuring Safety During How Is a Ductless Mini Split Installed Step by Step
Safety isn't just a buzzword; it's a requirement. Most mini splits require a dedicated 240V circuit and a local disconnect box near the outdoor unit. This allows a technician to safely cut power during future maintenance.
- Grounding: Proper grounding prevents electrical surges from frying the sensitive inverter boards.
- Voltage Verification: We always use a multimeter to verify we have the correct voltage before the final startup.
If your current electrical panel is already full, it might be a sign that your home's infrastructure needs an update. Check out Is It Time to Replace Your Ductless AC for more on system lifespans and requirements.
Step 5 & 6: Vacuuming the System and Final Startup
Once everything is connected, we don't just "turn it on." We have to ensure the system is airtight and bone-dry.
The Nitrogen Pressure TestWe fill the lines with dry nitrogen—usually up to 300 or 500 PSI—and let it stand. If the pressure drops even a fraction, we know there is a leak that needs fixing before any refrigerant is wasted.
The Vacuum and Decay TestAfter confirming it's leak-free, we use a vacuum pump to pull the system down to 500 microns or lower. This removes non-condensables (air) and moisture. Moisture is the enemy of an HVAC system; if left inside, it can turn into acid that eats the compressor from the inside out. We perform a "decay test" by turning off the pump and ensuring the vacuum holds for at least 10 to 15 minutes.
| Step | Purpose | Target Metric |
|---|---|---|
| Nitrogen Test | Check for physical leaks | 300-500 PSI |
| Vacuum Pump | Remove air and moisture | < 500 Microns |
| Decay Test | Ensure vacuum integrity | Steady micron level |
Release and StartupFinally, we use an Allen wrench to open the valves on the outdoor unit, releasing the pre-charged refrigerant into the lines. We power the system on and check the "Delta T"—the temperature difference between the air going into the unit and the air coming out. A healthy system usually shows a 15–20°F difference. We finish by installing line set covers (slim ducting) to protect the exterior lines and give the job a clean, professional look.
Frequently Asked Questions about Ductless AC Setup
Can I install a mini split myself or should I hire a professional?
While "DIY-friendly" kits exist with pre-charged lines, standard mini split installation is highly technical. Handling refrigerants legally requires EPA 608 certification in many cases. Beyond the law, DIYers often lack the $1,500+ worth of specialized tools (vacuum pumps, micron gauges, torque wrenches) needed for a reliable install. Most importantly, many manufacturers will void your 10 or 12-year warranty if the system isn't commissioned by a licensed pro. For a guaranteed result, it’s best to stick with Mini Split AC Installation Lewiston ID.
How long does the installation process usually take?
For a straightforward, single-zone installation, expect a timeline of 4 to 8 hours. If we are installing a multi-zone system (one outdoor unit connected to three or four indoor units), it can take 1 to 2 days. Factors that add time include complex line set routing through attics or crawlspaces and the need for a new electrical circuit.
What maintenance is required after the system is installed?
To keep your system running through 2026 and beyond, you should:
- Clean Filters: Every 4–6 weeks. Ductless units move a lot of air, and their small filters can clog quickly.
- Clear Debris: Ensure the outdoor unit isn't buried in snow (common in Deary or Potlatch, ID) or clogged with leaves.
- Annual Tune-ups: A professional should check refrigerant levels and clean the coils once a year.
Wondering if your old unit is worth the effort? See Is It Time to Replace Your Ductless AC for a checklist.
Conclusion: Finding Expert Mini Split Installation in Moscow and Lewiston
Understanding how is a ductless mini split installed step by step helps you appreciate the precision required for these high-efficiency systems. From the initial Manual J sizing to the final vacuum decay test, every step is a building block for your home's comfort.
At Unlimited Heating & Refrigeration Inc, we bring over 20 years of family-owned experience to every job across the Palouse and LC Valley. As a premier Daikin dealer, we don't just install equipment; we offer a 12-year warranty and our signature Comfort Promise. Whether you are in Pullman, WA, or Genesee, ID, we are ready to help you upgrade.
Ready to experience zoned comfort? Explore our Mini Split services today and let us handle the steps for you.
Other Blogs
Customer Testimonials
Our customers love our service and support.


Unlimited Heating & Refrigeration, Inc have always gone out of their way to assist us in meeting our needs. Our heating/cooling issues have always been listened to and thoroughly explored with us in a timely manner and most importantly resolved quickly. We appreciate this business and will continue to support them when needed.
Outstanding customer service!! I was blown away by the help, clear communication, and expertise of this company. My parents were experiencing plumbing problems and Amanda not only took my call after hours but had someone to their house early the next morning and the problem solved in an hour. I would highly recommend this company for any plumbing needs and won’t hesitate to use them again! Very happy with the experience.
Fast scheduling for my new Bosch dishwasher installation. The technician was on time, friendly and very experienced. The whole process was under 2 hours. Great work.
Furnace and AC installation: Exceptional responsiveness, quality professional installation (incl some deduct work revision in attic & coordination with electrician). All personnel were congenial and clearly presented info and answered all questions clearly. While a big job, we hardly knew they were here: quiet, efficient and cleaned up very well daily.Great people, Great service! Absolutely would call them for other service! Highly Recommend!!