This is some text inside of a div block.
Your Guide to Swapping Out Your HVAC Filter for a Comfier Home
Think of your HVAC filter as your home’s first line of defense for breathing easier, keeping your system running smoothly, and saving a little on your energy bills. This guide will walk you through what these filters do, why swapping them out regularly is a game-changer for comfort and energy use, and how to tackle a DIY replacement yourself. We’ll cover common filter types, what those MERV ratings really mean, a handy schedule for homes with pets or allergies, and a simple step-by-step process to get it done without messing with airflow or seals. Plus, we’ve got some local insights for Moscow, ID residents on seasonal sniffles and air quality options, along with tips on when it’s time to call in the pros. We’ll be using terms like “HVAC filter,” “air filter,” “MERV rating,” and “DIY filter replacement” to help you find exactly what you need for a healthier, more comfortable home.
What Kinds of HVAC Filters Are Out There, and How Do You Pick the Best One?
Choosing the right filter means matching its build and MERV rating to your home’s needs, your system’s capabilities, and your indoor air quality goals. Filters → come in varieties like fiberglass, pleated, HEPA, and electrostatic, each offering a different balance of particle capture, airflow resistance, and lifespan. When picking one, think about allergies, whether you have pets, and what your HVAC system can handle to get great filtration without choking off airflow. The table below breaks down common residential filter types and offers practical advice to guide your choice.
This comparison shows that pleated filters are usually the sweet spot for homes, balancing performance and airflow. HEPA-level filtration is best reserved for systems specifically built for that kind of resistance. Next up, we’ll unpack what MERV ratings mean and the trade-offs involved.
What’s the Difference Between Fiberglass, Pleated, HEPA, and Electrostatic Filters?
Fiberglass filters use basic fibers to catch big particles, offering little resistance but not much allergen control. Pleated filters, on the other hand, have more surface area to grab finer stuff without making airflow too difficult. HEPA filters are particle-capture powerhouses but often need special setups or compatible systems to avoid overwhelming your blower. Electrostatic filters use static electricity to attract particles and can often be washed, but their effectiveness can vary. Picking the right one means balancing how much you want to filter with what your HVAC system can comfortably handle.
How Does the MERV Rating Impact Filter Performance and Air Quality?
MERV, or Minimum Efficiency Reporting Value, tells you how well a filter traps particles of different sizes. Higher MERV numbers mean it catches smaller particles but can also restrict airflow more. MERV 1–4 filters grab large particles like lint and dust. MERV 5–8 are common in homes, catching pollen and mold spores. MERV 9–13 get closer to allergy-level filtration without causing major airflow issues for most systems. Always check your system’s manual, because a filter → restricts → airflow, and a super-high MERV filter in the wrong system can actually hurt performance.
Which Filter Type and MERV Rating Are Best for Allergies, Pets, and Dust?
For allergy sufferers, pleated filters with a MERV rating of 8–11 often strike a great balance, catching pollen and pet dander without making your system work too hard. If you have multiple pets, you might find more frequent changes of a similar MERV filter are better than jumping straight to a super-high MERV option. For homes focused on dust control but with sensitive equipment, opt for pleated filters with a moderate MERV and adjust your replacement schedule for high dust loads. The key is finding that sweet spot between filtration and airflow—a filter that’s too restrictive can cause more problems than it solves.
How Often Should You Swap Out Your HVAC Filter?
How often you change your filter depends on the manufacturer’s recommendation, but also on your household’s unique factors like how many people live there, if you have pets, allergy sensitivities, and your local environment. A filter → loses → its ability to capture particles over time as it gets clogged. Sticking to a proactive replacement schedule keeps airflow strong and filtration effective.
What Are the General Rules for Air Filter Replacement Frequency?
For most homes, it’s a good idea to check your filter monthly and plan to replace it every 1–3 months, depending on how it looks. This routine balances the benefits of good filtration with the cost and waste of filters. A quick visual check—look for visible dust buildup or signs of reduced airflow at your vents—is a reliable way to know if it’s time for a change sooner. If your system has a smart thermostat or runtime meter, it can also help pinpoint the best timing. If the filter looks grey or squashed, swap it out right away, no need to wait for a calendar reminder. Setting up a regular check routine leads us to how pets, allergies, and climate specifically influence that schedule.
How Do Pets, Allergies, and Local Weather Affect How Often You Change Your Filter?
Pets are constantly shedding fur and dander, which means your filter will clog up faster. Plan on changing it monthly if you have pets, and even more often if you have multiple furry friends. Allergy seasons mean more pollen in the air, so if you’re sensitive, check your filter weekly and plan for monthly changes during peak times. Your local climate also plays a role; longer heating seasons mean your system runs more, filtering more air and requiring earlier replacement. Adjust your schedule seasonally and keep a close eye on filters monthly during heavy use periods.
How Can You Set Up Reminders for Regular Filter Changes?
Use your digital calendar to set recurring reminders based on your typical replacement schedule. You can also add a physical label right on the filter slot with the date it was last changed and when the next one is due – this creates a great backup reminder. Many homeowners pair smartphone alerts with a stash of spare filters so they can swap them out immediately when needed. Some even sign up for maintenance plans that automate scheduling and send professional reminders. A solid reminder system means fewer missed changes and a consistently running system. Now, let’s get to the practical skill: how to safely swap out that filter.
Your Step-by-Step Guide to Changing Your HVAC Filter
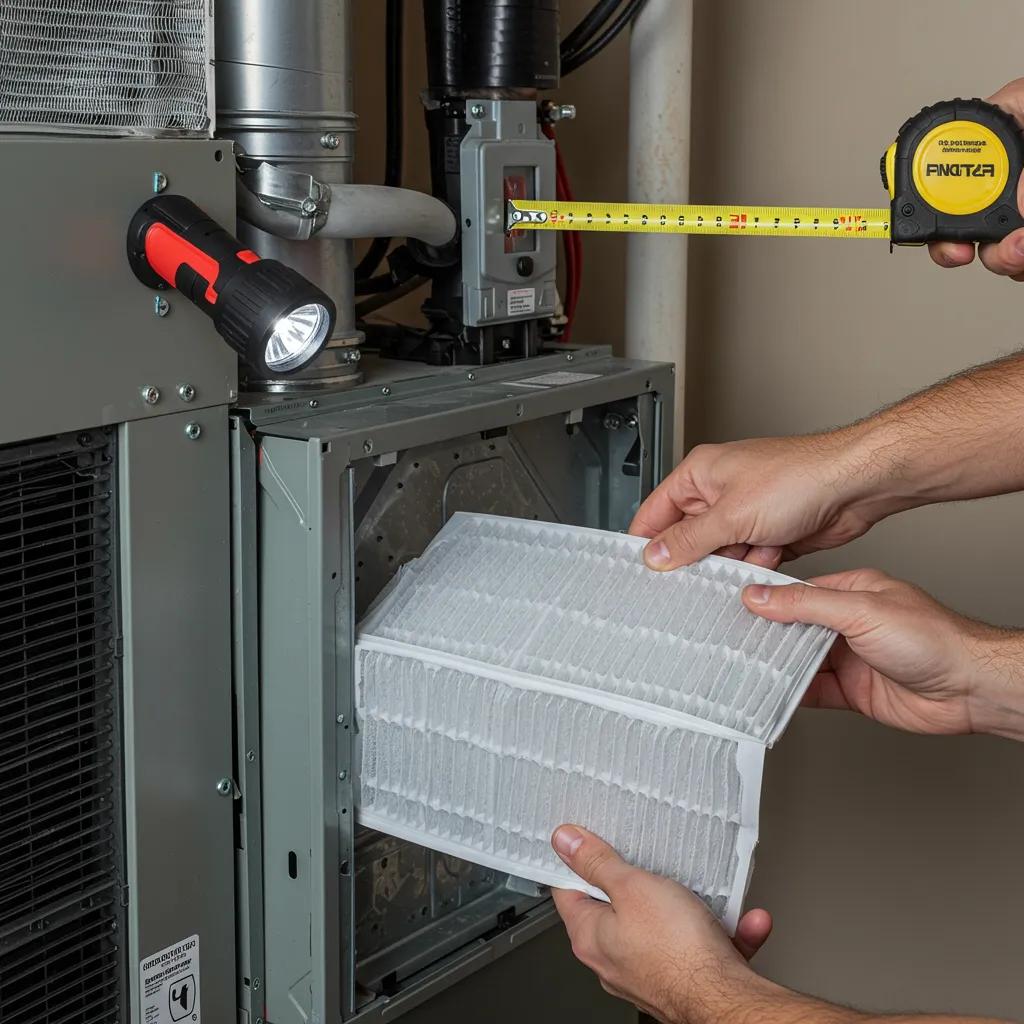
This guide lays out a clear, safe process for removing your old filter and popping in a new one, making sure the airflow direction, size, and seals are all spot-on. Your filter → should be replaced → after you shut off the power, carefully remove the old one to avoid spreading dust, check its dimensions and MERV rating, and then install the new filter with the airflow arrow pointing towards your furnace or air handler. The numbered steps below offer a straightforward HowTo that works for most common residential filters found in return grilles or cabinet slots.
With the right tools and a simple checklist, changing your filter is a breeze for most homeowners.
- Cut the power: Set your thermostat to "off" and, for extra peace of mind, flip the breaker for your furnace/air handler.
- Find the filter: Locate the return air grille or the slot on your furnace cabinet and open the access panel.
- Pull out the old filter: Gently slide the filter out, folding it inward as you go to trap any loose dust.
- Check size and airflow arrow: Make sure your new filter matches the dimensions and install it with the arrow pointing towards the blower.
- Power back up and note the date: Turn the system power back on and jot down the replacement date for your reminders.
How Do You Safely Find and Remove the Old HVAC Filter?
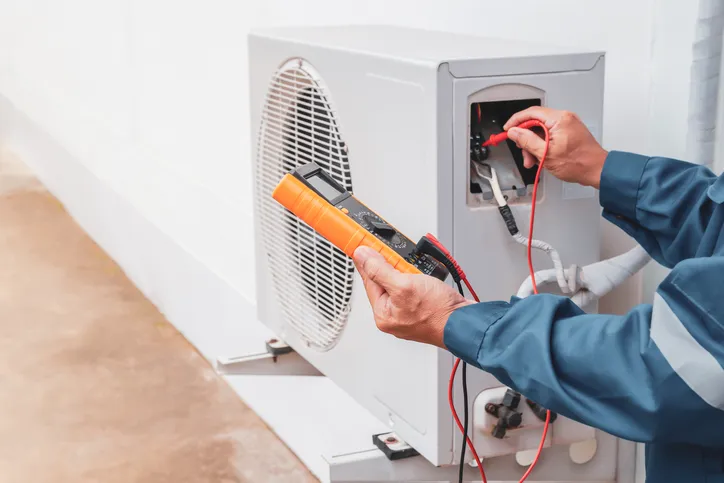
Filters are commonly found in the return-air grille on a wall or ceiling, or within the furnace/air handler cabinet. A quick peek at the old filter’s label or the HVAC access panel will usually point you to the right spot. Always shut off the system’s power before reaching into the cabinet to avoid contact with moving parts or accidental startup while your hands are near the blower. Slide the filter straight out to minimize dust spread, and if it’s heavily soiled, fold the media inward to trap debris before disposal. After removing it, check the slot for any gaps or damaged seals that could let unfiltered air sneak by; fixing these issues is key to effective filtration and leads into choosing the right replacement.
Got Questions About HVAC Filter Replacement? We’ve Got Answers!
This FAQ section provides straightforward answers to common homeowner queries, aiming to offer quick, actionable advice and clear guidance. The following entries cover sizing, DIY feasibility, the consequences of neglect, and cost factors to help you make informed decisions. Each brief answer supports the practical steps we’ve outlined and points you toward the right next action if you’re still unsure.
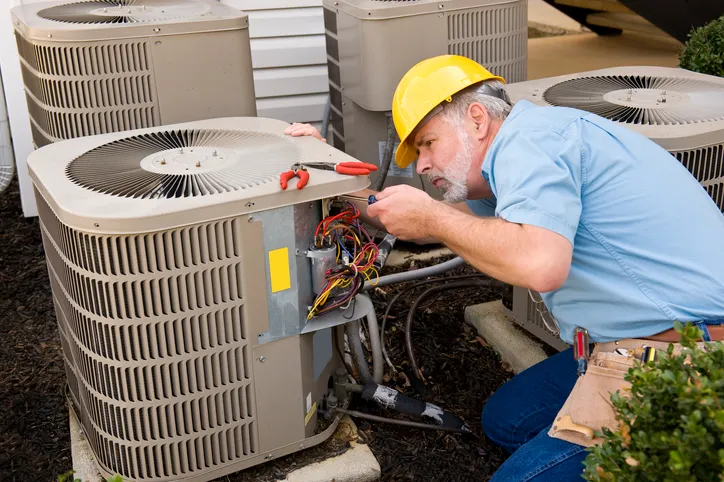
Can I Change My AC Filter Myself?
Most homeowners can safely change standard return-grille and cabinet filters with basic tools and by following the power-off and airflow-direction steps we’ve outlined. Call a professional if the filter is inside a complex cabinet, behind a locked panel, or if you have limited mobility or aren’t comfortable with shutting off power. If you want confirmation on sizing, sealing, or suspect the filter was causing system issues, a technician can check those things during a service visit. The choice between DIY and professional service depends on accessibility, your physical ability, and your confidence in following safety procedures.
What Happens If I Don’t Change My Furnace Filter Regularly?
Skipping regular changes means poorer indoor air quality with more allergens and dust, reduced comfort due to weaker airflow, and increased wear and tear on your system that can shorten component life. Neglect also drives up energy bills as your HVAC system fights harder against airflow restriction, and it raises the risk of blower motor strain or coil fouling that requires professional cleaning or repair. You might notice dusty vents, uneven temperatures, and the system running longer without reaching your desired temperature. Understanding these consequences should motivate you to stick to a regular replacement schedule and check your filters monthly.
How Much Does HVAC Filter Replacement Cost?
Costs can vary based on the filter type, MERV rating, and whether you do it yourself or hire a professional. Higher-efficiency filters and professional services will naturally increase the overall expense. Key cost factors include the quality of the filter media, how often you need to replace it, and any diagnostic or repair work a technician might perform if underlying issues are discovered. For specific services like maintenance plans or indoor air quality assessments, contact a local provider to discuss options that fit your home and budget. Knowing these cost drivers helps you plan whether to invest in premium filters or professional maintenance.
Conclusion
Regularly swapping out your HVAC filter is essential for maintaining a comfortable and healthy home environment, as it enhances air quality and system efficiency. By understanding the different filter types and MERV ratings, you can make informed choices that cater to your specific needs, whether it's for allergies, pets, or dust control. Establishing a routine for filter replacement not only prolongs the life of your HVAC system but also ensures optimal performance. Start your journey to better indoor air quality by checking out our selection of high-quality filters today.
Customer Testimonials
Our customers love our service and support.


Unlimited Heating & Refrigeration, Inc have always gone out of their way to assist us in meeting our needs. Our heating/cooling issues have always been listened to and thoroughly explored with us in a timely manner and most importantly resolved quickly. We appreciate this business and will continue to support them when needed.
Outstanding customer service!! I was blown away by the help, clear communication, and expertise of this company. My parents were experiencing plumbing problems and Amanda not only took my call after hours but had someone to their house early the next morning and the problem solved in an hour. I would highly recommend this company for any plumbing needs and won’t hesitate to use them again! Very happy with the experience.
Fast scheduling for my new Bosch dishwasher installation. The technician was on time, friendly and very experienced. The whole process was under 2 hours. Great work.
Furnace and AC installation: Exceptional responsiveness, quality professional installation (incl some deduct work revision in attic & coordination with electrician). All personnel were congenial and clearly presented info and answered all questions clearly. While a big job, we hardly knew they were here: quiet, efficient and cleaned up very well daily.Great people, Great service! Absolutely would call them for other service! Highly Recommend!!